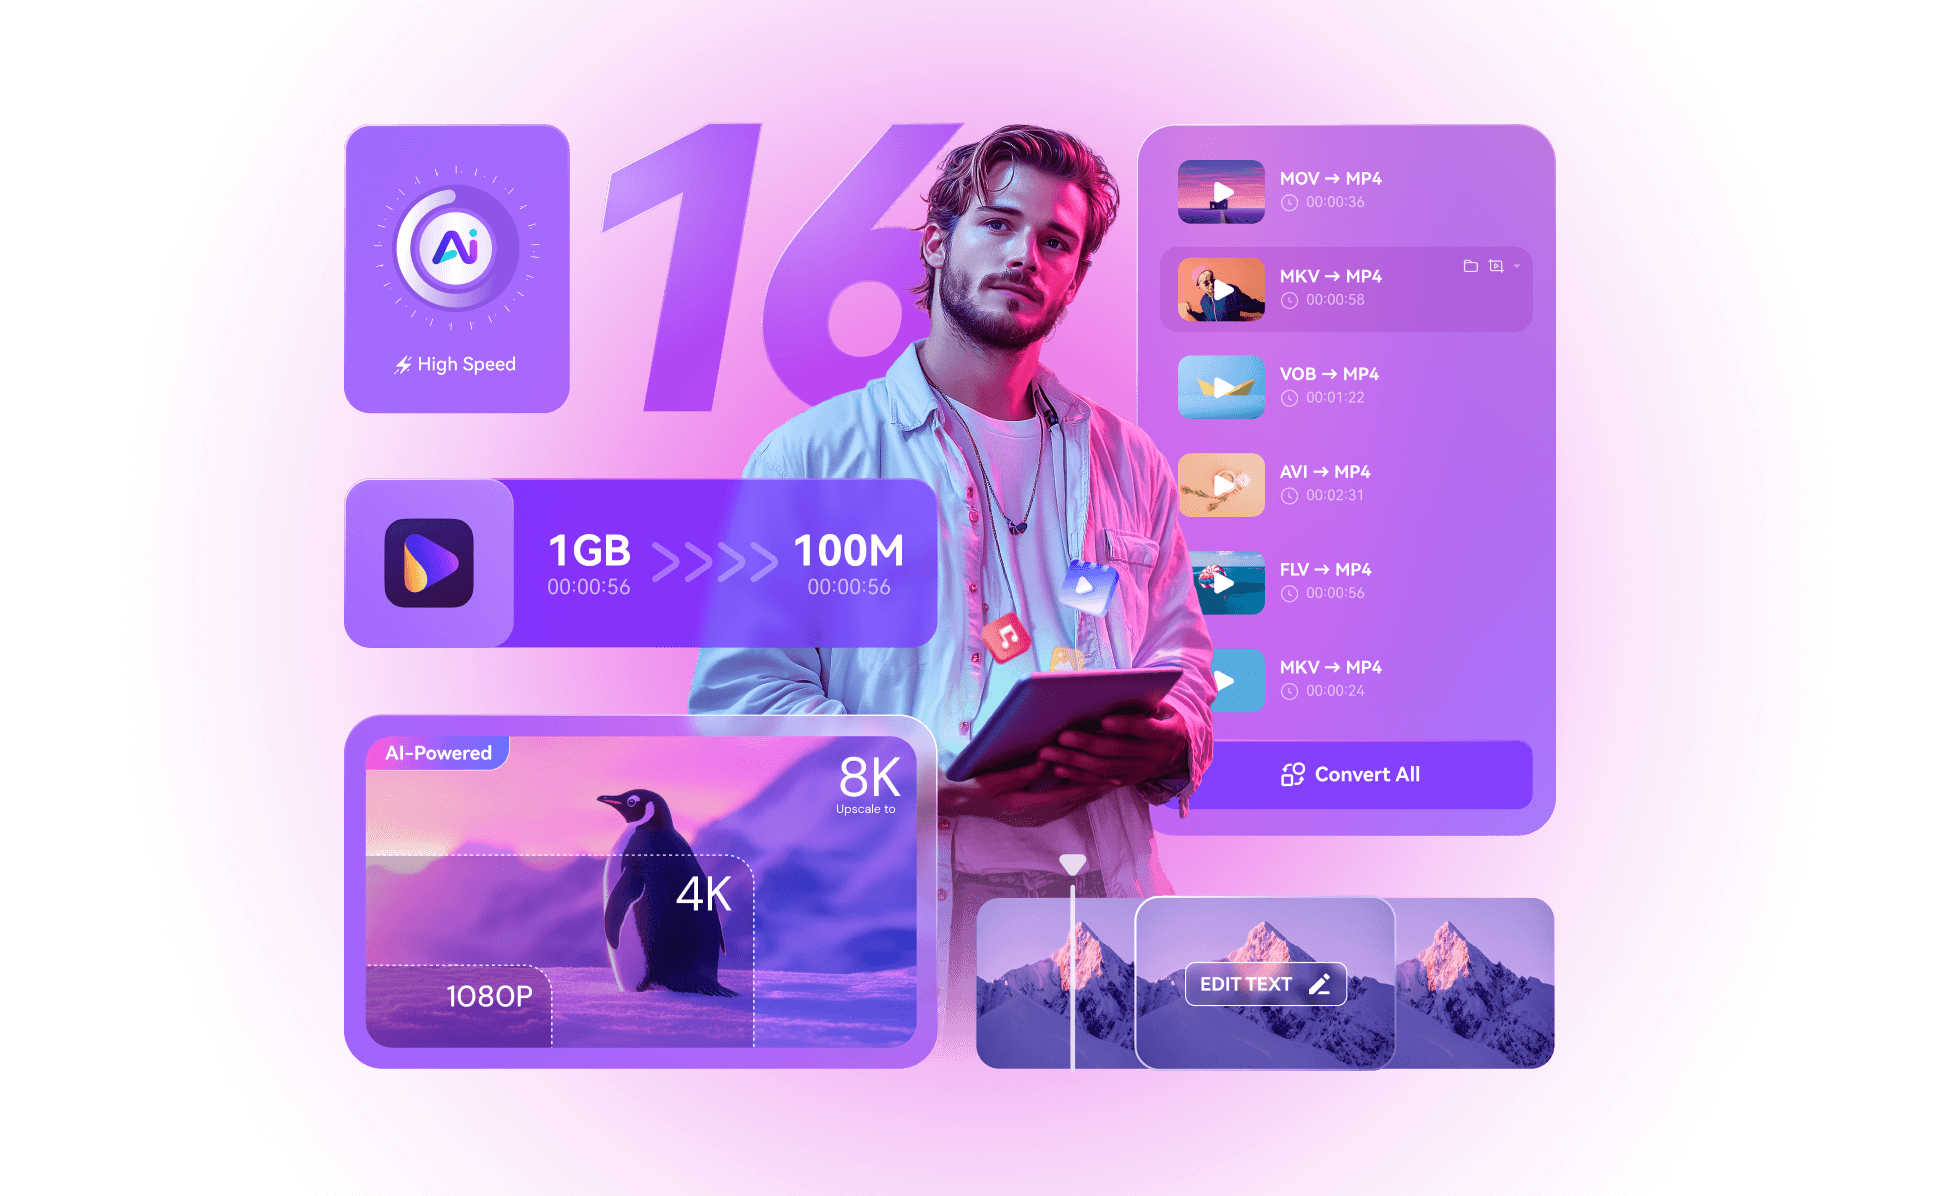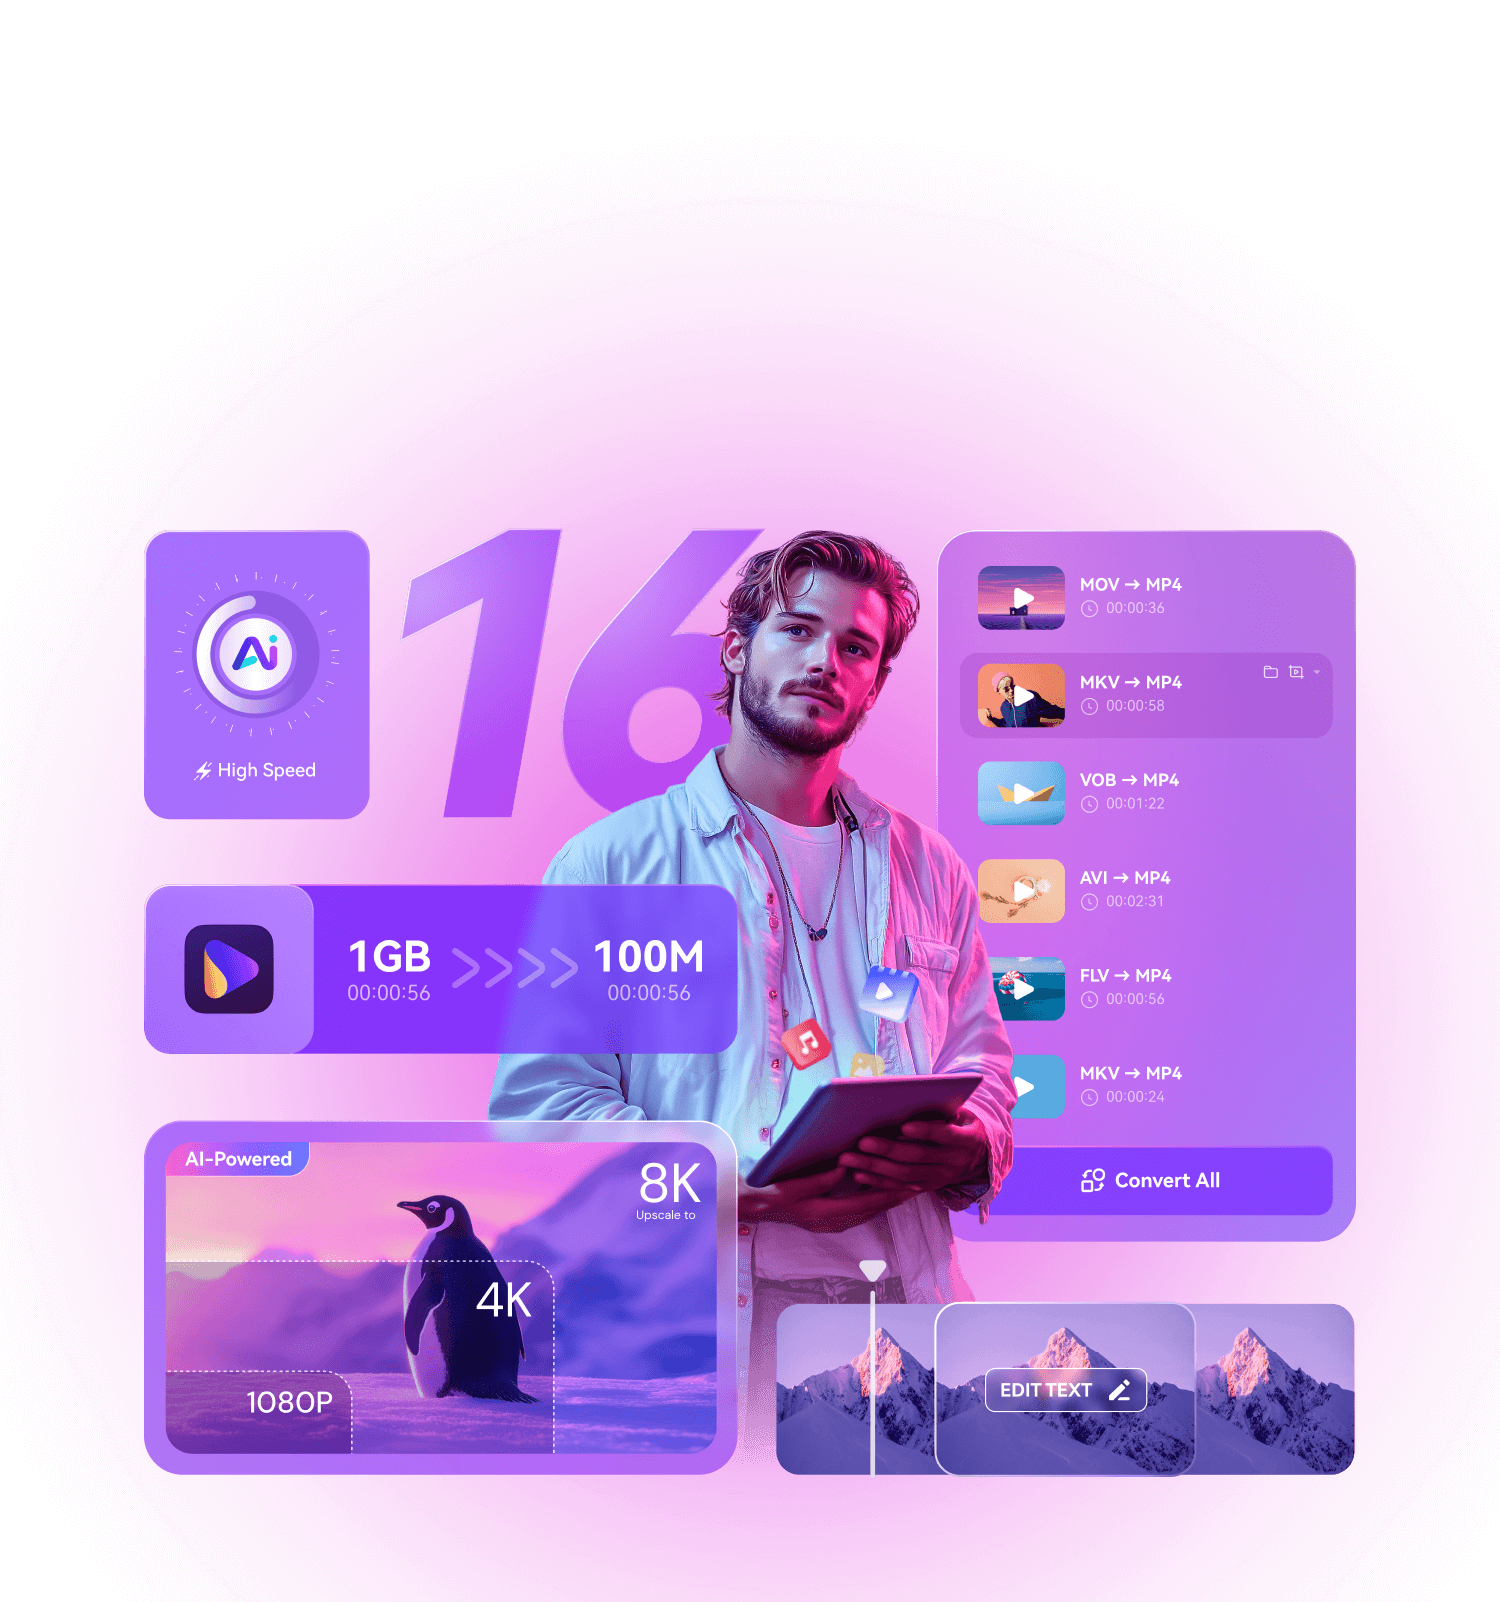


Upgrade UniConverter 16 With Up To 60% OFF
Exclusive for UniConverter users: Upgrade now to unlock our largest discount yet, but hurry—this offer won’t last long!
User friendly, Professional quality
UniConverter
Video Converter
Minimum size, original quality
UniConverter Video Compressor
Custom presets, one-click application
UniConverter Batch Editor
What's More
All-in-One Video and Audio Solution
Meet All Your Editing Needs

Converting files for your editing software can be a hassle. UniConverter simplifies batch conversions without losing quality and lets you easily download extra clips from websites.
01
05

UniConverter enables video enthusiasts to enjoy HD movies anytime, anywhere. As a powerful 4K/8K converter, it supports batch conversion to any player without losing quality.
02
05

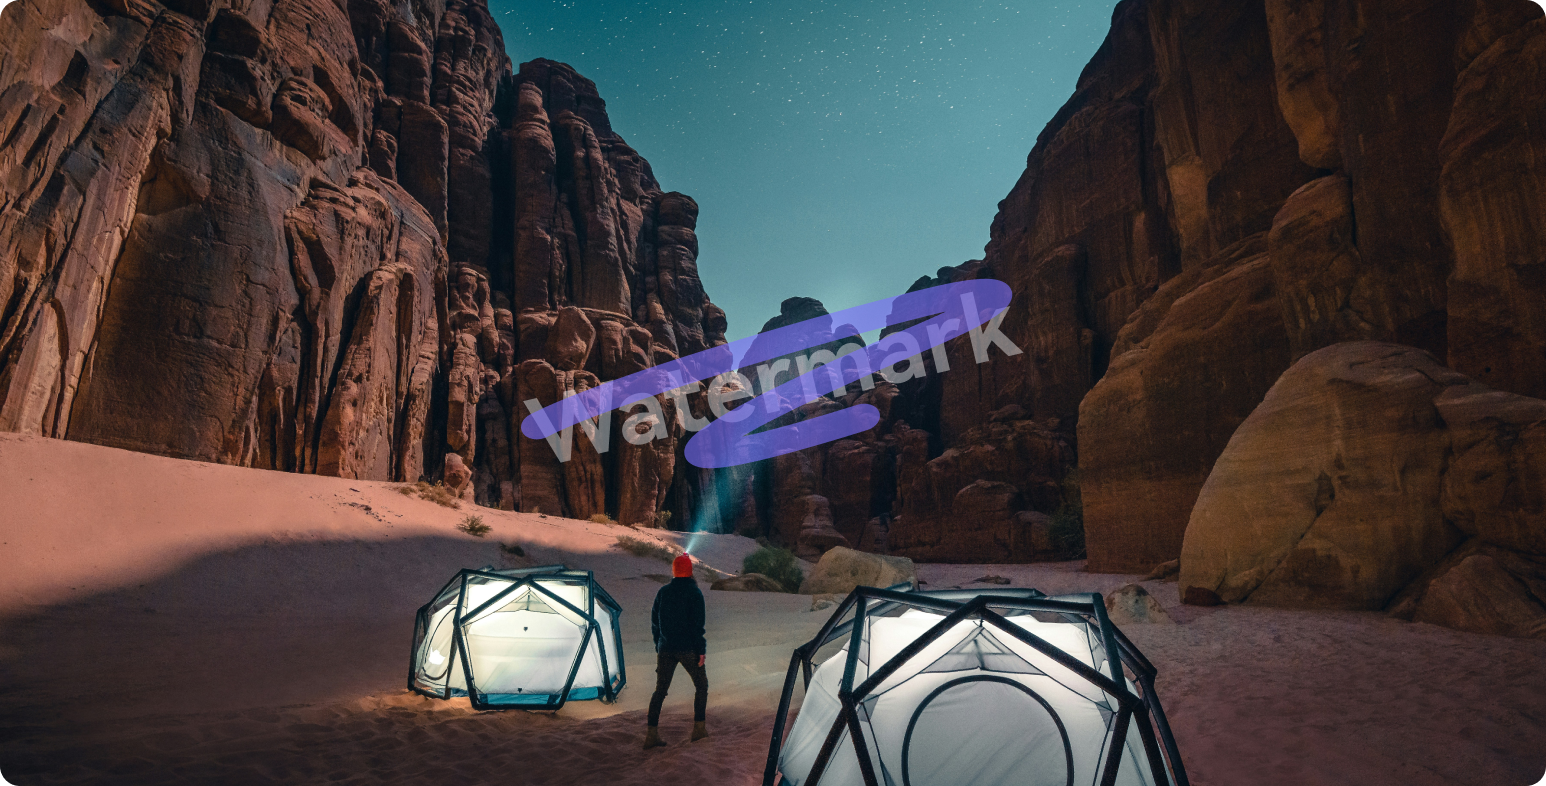
For social media enthusiasts, UniConverter is essential for effortless content sharing. It batch-compresses videos to meet size limits without losing quality, boosting your presence with a single click!
03
05
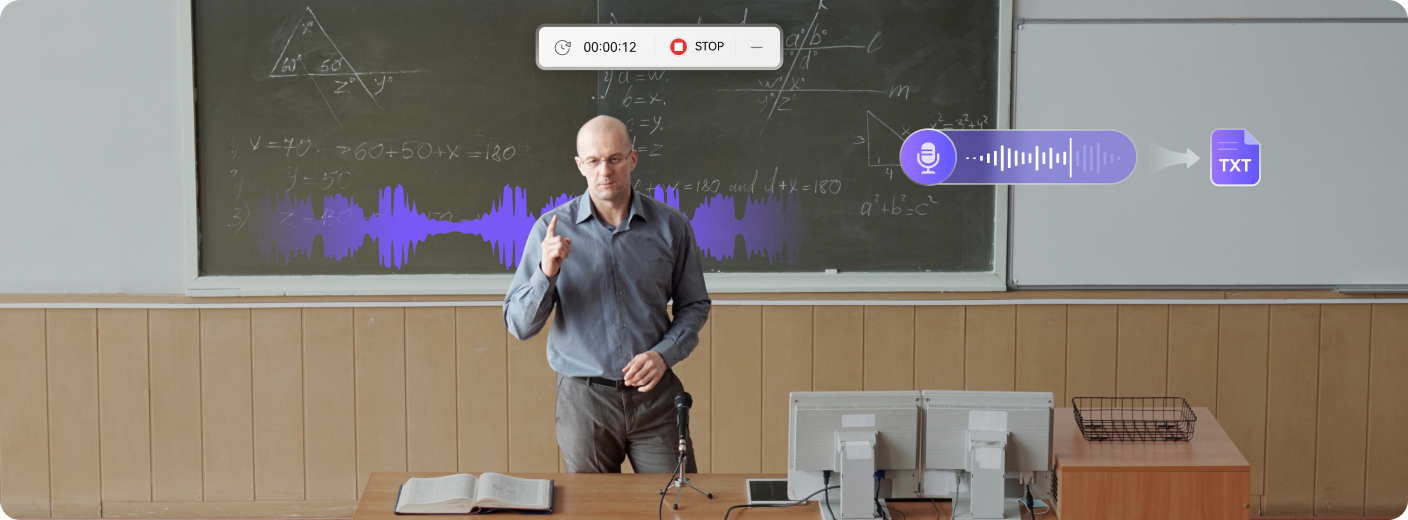
Convert course videos to platform-friendly formats with UniConverter, ensuring quality compression for easy sharing. You can also record and add annotations or subtitles in one go!
04
05

Save time and reduce expenses with UniConverter’s batch conversion and compression for all media files, plus the ability to recall previous settings for faster task completion.
05
05
Converting files for your editing software can be a hassle. UniConverter simplifies batch conversions without losing quality and lets you easily download extra clips from websites.
01
05
UniConverter enables video enthusiasts to enjoy HD movies anytime, anywhere. As a powerful 4K/8K converter, it supports batch conversion to any player without losing quality.
02
05
For social media enthusiasts, UniConverter is essential for effortless content sharing. It batch-compresses videos to meet size limits without losing quality, boosting your presence with a single click!
03
05
Convert course videos to platform-friendly formats with UniConverter, ensuring quality compression for easy sharing. You can also record and add annotations or subtitles in one go!
04
05
Save time and reduce expenses with UniConverter’s batch conversion and compression for all media files, plus the ability to recall previous settings for faster task completion.
05
05
Countries
Satisfied Users
Subscribers
Downloads

"Does an outstanding job at all tasks. Very configurable for the exact result you need. An important companion tool for anyone creating videos to be shared or posted online."
Johnson
Sportsman

"In the education game, being able to readily download, convert or even edit some files for teaching and learning purposes is just brilliant. The files can be used across IT platforms so easily too. Thanks!"
Williams
Teacher

"This is easy to use; it does all that i want it to do, downloading great numbers of videos could not be easier. It is versatile and powerful. I love and I think i will always use it."
Jason
Video Lover

"Wondershare is incredibly versatile. A solution for all my Audio/Video Editing needs. My clients think I’m a magician because of this one easy-to-use tool!"
Olivia
Photographer

"The long history I have of using this program over the years, and the versatile features that come with the programs. Its simple but strong."
Vicky
Vlogger

"Usually I don't write review for any product I use, but this will be my first review for this software, powerful, smart, easy to use and gets more advanced by time. I really thank the team who working hard on this software to make it better and for the unlimited updates."
Curry
Marketer
"Does an outstanding job at all tasks. Very configurable for the exact result you need. An important companion tool for anyone creating videos to be shared or posted online."
Johnson
Sportsman
"In the education game, being able to readily download, convert or even edit some files for teaching and learning purposes is just brilliant. The files can be used across IT platforms so easily too. Thanks!"
Williams
Teacher
"This is easy to use; it does all that i want it to do, downloading great numbers of videos could not be easier. It is versatile and powerful. I love and I think i will always use it."
Jason
Video Lover
"Wondershare is incredibly versatile. A solution for all my Audio/Video Editing needs. My clients think I’m a magician because of this one easy-to-use tool!"
Olivia
Photographer
"The long history I have of using this program over the years, and the versatile features that come with the programs. Its simple but strong."
Vicky
Vlogger
"Usually I don't write review for any product I use, but this will be my first review for this software, powerful, smart, easy to use and gets more advanced by time. I really thank the team who working hard on this software to make it better and for the unlimited updates."
Curry
Marketer
Meet all your needs for getting, editing, enjoying, and sharing